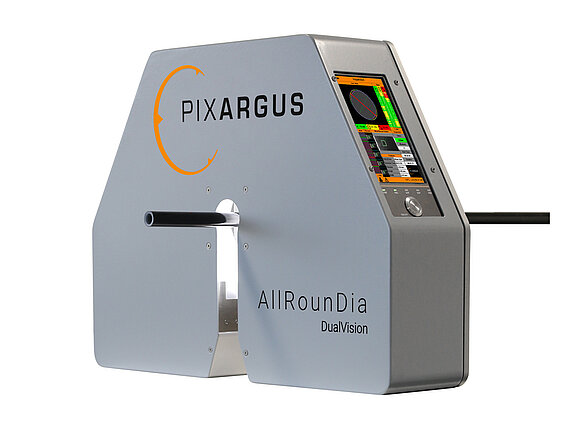
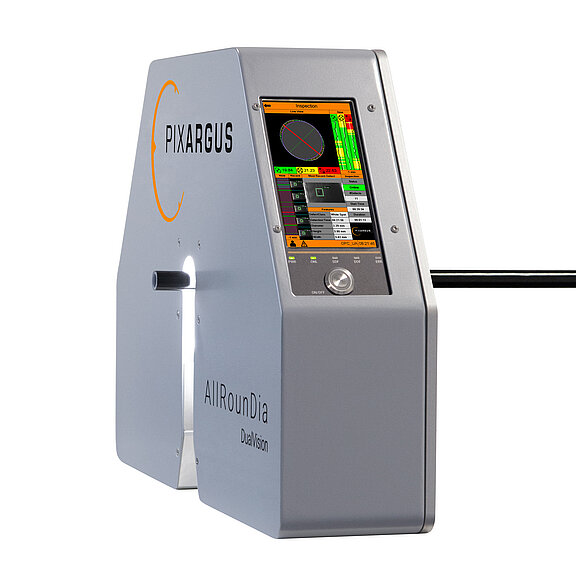
AllRounDia DualVision (DV) combines PIXARGUS’ vast know-how and expertise in an ideal way: the hardware and software of PIXARGUS’ highly successful ProfilControl 7 technology have been optimized and adapted to the measurement of product of simple, round contours. The result is a small-budget system that measures both the surfaces and contours of tubes, hoses and cables gaplessly, continuously and around the complete circumference of the products – with one single sensor head. A real novelty! An additional advantage of the new two-in-one gauge is its extremely compact design, which makes it very easy for operators to integrate the system into their production lines. “Reduced to the max”: this is how the PIXARGUS experts call this design approach. They are convinced that the new system will make a lasting contribution to the quality of round products.
Measurement of dimensions: All-round instead of 6-point measurement
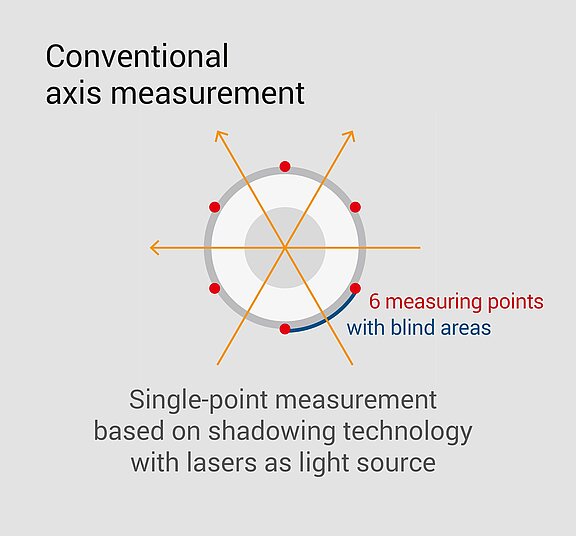
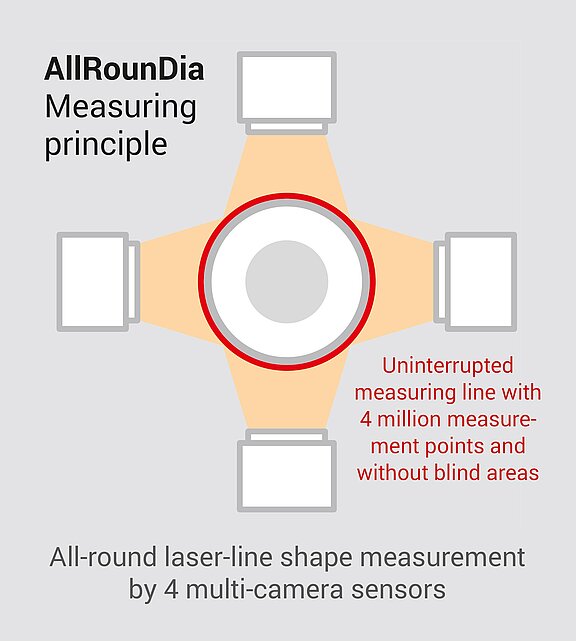
AllRounDia DV is the first gauge to deliver gapless 360° measurement of round and oval contours. PIXARGUS achieves this by employing a camera-based, laser-triangulation method. While conventional axis-based measurements using the shadowing method (see illustration) cover only six single points, the optical sensors of AllRounDia DV capture 4 million pixels. PIXARGUS Managing Director, Jürgen Philipps, knows: “Each individual point can be decisive for the quality of the product.” Although the single-point method measures each single point very accurately, it does not capture the area between the points and detects only defects of relatively large topographic extension (nodes). ”This can be illustrated quite simply by the following example: Let’s take a defect of 1 mm size on a product of 10 mm size. Inspecting the product at only six spots would leave 90% of the surface uninspected. AllRounDia DV, on the other hand, guarantees that each and every point is inspected with the same high reliability and repeatability,” explains Philipps. ”This is gapless inspection in the true sense of the word,” he adds.“
Surface inspection: more than a lump detector
AllRounDia DV continuously checks not only the contour for any deviations from the target, but the entire surface area. The PIXARGUS system employs LED lighting, not laser light as conventional systems do. The specially developed lighting concept ensures that the field of vision and the measuring field are perfectly homogeneously lit. Precisely for this reason, even difficult to detect irregularities and flaws in the material such as fissures, inclusions, flecks and other high-contrast defects from a size of only 0.1 mm are reliably captured. Cable manufacturers employ spark tests as final quality control of the cable insulation. Here AllRounDia DV has set a new benchmark: it detects porosity or spots of insufficient material thickness at a much earlier stage in production – making 90% of the spark tests superfluous.
1+1 at an extremely small footprint
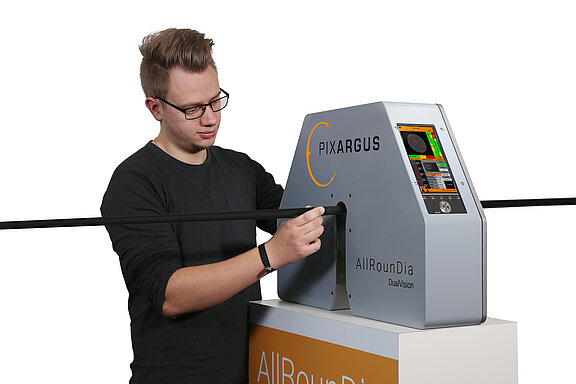
AllRounDia DV’s extremely compact design enables it to be ready to run in the production line with virtually no effort at all. The system comes with a straightforward and intuitive HMI. It can be operated either directly via its display or remotely via a tablet. This highly compact “allrounder” handles round products with diameters of up to 40 mm. It is available as a stand-alone unit or mounted on a stand base.
With all common interface ports and ready for Industry 4.0
As a Windows-based system, AllRounDia DV comes with all common interface ports and is easily integrated into corporate network structures. But AllRounDia DV has even more to offer: The two-in-one system can be networked with additional sensors and measuring systems and integrated – horizontally and vertically – via an OPC UA interface, for example, into innovative Industry 4.0 applications.
Visit PIXARGUS at the Tube 2020: Hall 6, booth J09
Click here for more product information about AllRounDia DualVision.

