Unique downsized solution for complete full inspection of tubes, hoses and cables
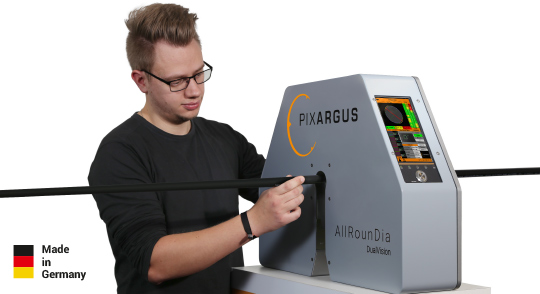
AllRounDia DualVision combines PIXARGUS’ vast know-how and expertise in surface inspection and measurment of diameter and ovality in an ideal way: the hardware and software of PIXARGUS’ highly successful ProfilControl 7 technology have been optimized and adapted to the measurement of products of simple, round contours. The result is a downsized system that measures both the surfaces and contours of tubes, hoses and cables with one single sensor head - gaplessly, all-round and highly cost-saving.
Diameter measurement
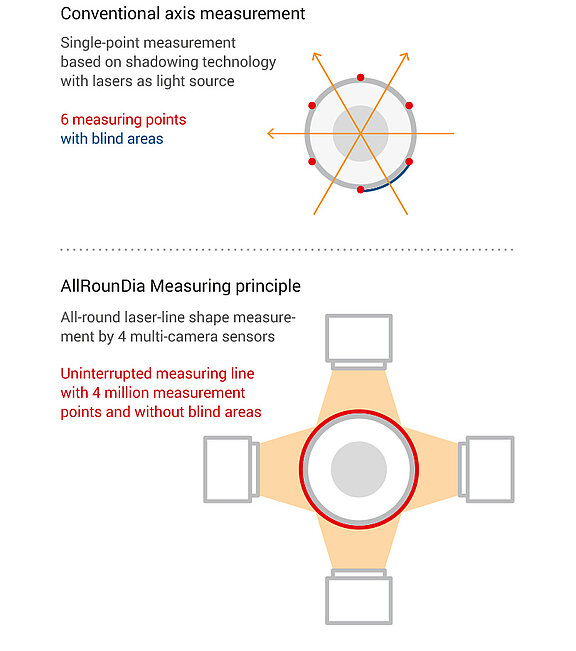
All-round technology instead of 6-point measurement
Our camera-based laser triangulation gauge is the first ever inspection system to assure gapless 360° measurements of round and oval contours. While conventional axis-based measurements using the shadowing method (see illustration) cover only six single points, the optical sensors of AllRounDia DV capture 4 million pixels. This makes the difference because each individual point can be decisive for the quality of a product. While the single-point method measures each single point highly accurately, it does not capture the area between the points and detects only defects of relatively large topographic extension (lumps). In contrast, AllRounDia DV guarantees that each and every point is inspected with the same high accuracy and repeatability of 0.01% FOV.
Surface inspection
More and better than a lump detector
AllRounDia DV continuously checks not only the contour for any deviations from the target, but the entire surface area. The PIXARGUS system employs LED lighting, no laser light, as comparable systems do. The specially developed lighting concept assures that the field of vision and the measuring field are perfectly homogeneously lit. Precisely for this reason, even difficult to detect irregularities and flaws in the material, such as fissures, inclusions, flecks and other high-contrast defects from a size of only 0.5 mm, are reliably captured.
Detectable defects and deviations
Specially developed lighting elements ensure that the measuring field is extremely homogeneously lit, allowing the camera sensors to even capture and process invisible and difficult-to-detect irregularities and defects – for example, specks, pores, scratches, blisters, fissures or grooves.
- Complete 100% inspection: surface & dimension
- Continuous scanning at 4 million pixels – without shadowing effect
- Very compact system – ready to run!
- Robust design for 24/7 operation
- Ready for Industry 4.0
- With certified, pre-delivery calibration
- Windows 10 IoT operating system
- Best cost-benefit ratio on the market
For quality that shows!
It’s high time for a change!
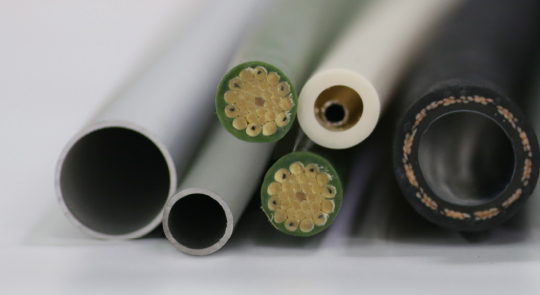
- Protective tubing for electronic wiring in cars
- Safety-critical hoses for brakes, ventilation, heating systems …
- Composite tubing with plastic sheathing
- All types of metal tubes
- Tubes and cables for the building industry
- Irrigation tubes
- Plastic drinking straws
- and many more
We also have the perfect system if you are looking for a high-end solution, as for medical products, for example. Just contact us!
Dimensions:
Contour, diameter, ovality
Surface:
Blisters, fissures, holes, grooves, inclusions, lump defects, necking, contrast defects, and many more.
- Complete 100% inspection instead of conventional dimension measurement with lump detectors
User-friendly and intuitive: Dimension measurement and surface inspection – in one display!

![[Translate to English:] All-In-One: Oberflächeninspektion + Dimensionsmessung [Translate to English:] All-In-One: Oberflächeninspektion + Dimensionsmessung](/fileadmin/Bilder/Produkte/AllRounDia_DualVision/Neu_2020/img_allroundia-dv_1.png)


