Defect detection in simple and highly complex textures of foils, film, fleece, paper, fabric and technological web material.
At impressively high speed and performance, and with 100% reliability, the system detects the most minute irregularities such as weaving and loop defects, fiber lumps, cracks, scratches, holes, etc ... also against very irregular backgrounds. This minimizes waste and guarantees that only perfectly flawless material is further processed.
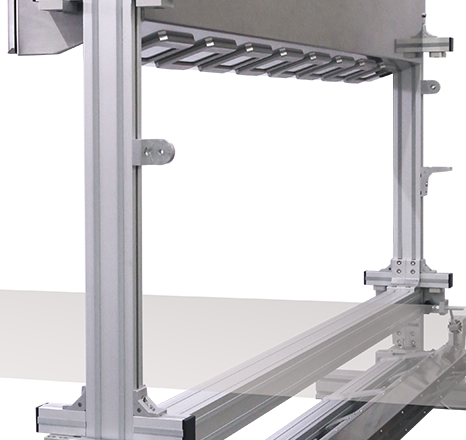
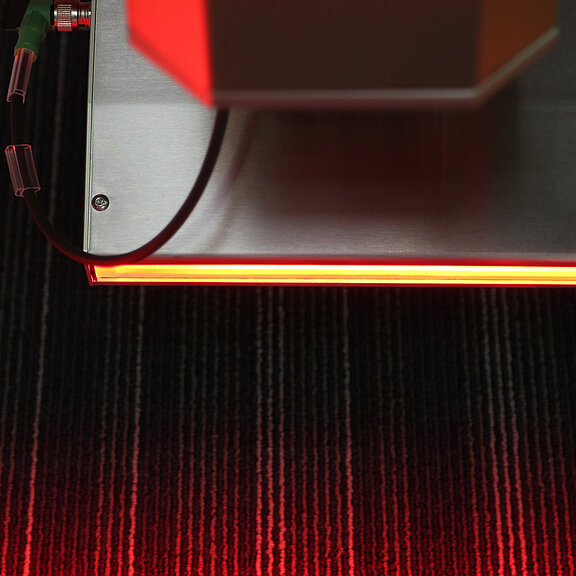
Specially developed lighting elements provide an extremely homogeneously lit measuring field. The system detects, signals and, if requested, also marks irregularities in leather structures, flaws in the weave of glass-fiber mats, orange-peel effects on dark, opaque foils or dense spots in non-woven fabric, and even light streaks on the surface.
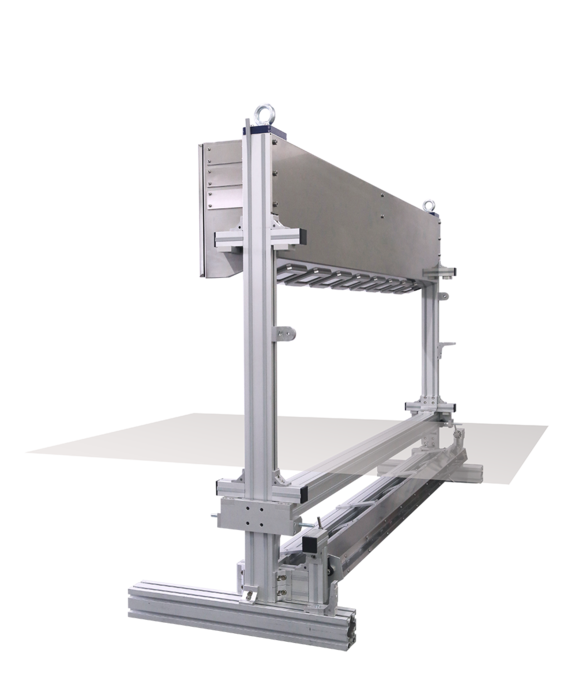
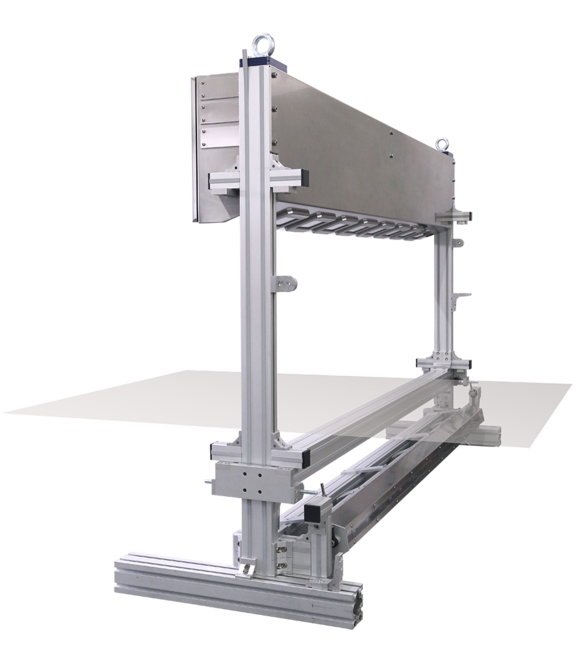
Pixargus has developed the WebControl inspection system specifically for challenging surfaces of opaque or translucent material. When the system is analyzing a surface, a special algorithm identifies the natural surface structure and masks it out. Thus it is possible to detect flaws hidden in the regular structure of the material.
DDM Module (DefectDensityManagement)
Checks the out-of-spec rate according to rules defined based on defect density and defect size.
Optical inline inspection systems have reached a high standard in detecting and classifying surface defects on profiles. However, the contextual evaluation of defects, which includes establishing logical relationships between defect criteria, has so far remained in the grey area.
In numerous specifications, especially those set up by automotive producers, the “ship or block” decision depends on OR-operations. A customer may reject a profile, for example, if over a specified length of the product there is one severe defect or one medium defect plus several small defects.
The Defect Density Management solution, however, weights every single surface defect and sums up the obtained values over a specified length of the product. The inspection system sends out a signal as soon as the value exceeds a defined threshold. The signal can be used to mark out-of-spec sections of profiles or control downstream cutting and sorting equipment.
Shiny Surface
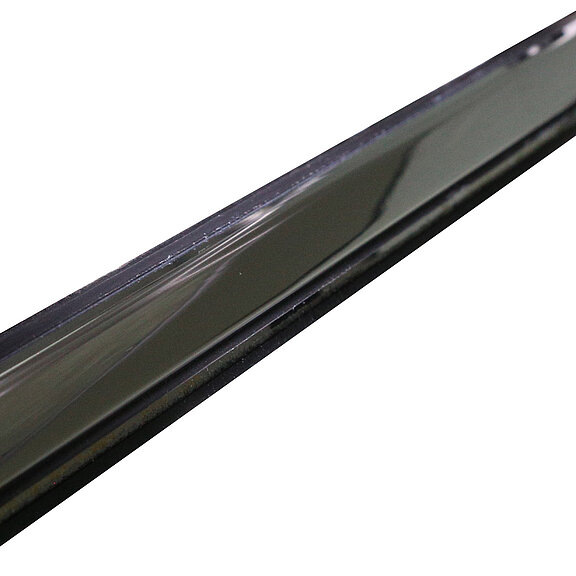
Inspects high-gloss surfaces, as of chrome trims. Ideal also for curved surfaces.
What enhances the interior of vehicles or the appearance of stylish household appliances may become a real challenge in quality inspection. High-gloss chrome trims may give objects a dazzling appearance in the true sense of the word. The extremely intensive light reflection makes it very difficult to discern defects on the shiny surface.
To solve this problem, Pixargus’ Shiny Surface module casts structured light onto the high-gloss material surfaces. The pattern of light showing on the surface of the profile suppresses reflection while creating transitions of brightness that allow even extremely small scratches, bubbles or dents to be detected most reliably.
The system follows the exact contour of the product and inspects it over its entire width. The field of vision can be modulated so as to also enable the inspection of curved metal trims.
Saw Control
Cuts your product to the correct length and cuts out defects with minimal waste.
With its Saw Control module, Pixargus makes cutting-to-length an integrated part of quality control in profile production.
The Saw Control software performs two basic functions. On the one hand, it sets the cutting intervals for the shear. If set at, let’s say, one meter, profiles graded as
defect-free by the quality control system will be continuously cut to this length and discharged from the conveyor belt as ready-to-pack products.
However, in the event that ProfilControl 7 has detected a flaw in the product, Saw Control instantly causes the shear to make an extra cut in real time to remove just the out-of-spec part from the profile.
This minimizes waste and saves time. Thanks to the Saw Control module, out-of spec portions of profiles can be sorted out much faster because the operators immediately recognize them as a short length comes along.

