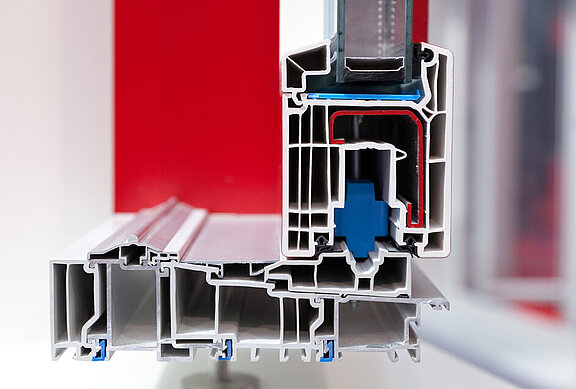
Measures inside geometries such as inner diameter, clamping sections, layer and wall thicknesses, etc. of cut profiles
ProfilControl ICSM is the new system solution for continuous, automated quality control of the inside geometry of profiles during the production process. With this system, operators are for the first time able to measure the inside webs, clamping sections, coating layers and wall thicknesses etc. of plastic, rubber and metal profiles directly after the cutting unit. The system sorts the tested items automatically based on good/bad parameters. It can be easily integrated into the continuous extrusion process (inline measurement) or used as a stand-alone testing station for single-piece inspection.
INLINE
instead of
OFFLINE
INLINE
Replaces the time-consuming manual inspection process using projectors! Sample preparation (cutting, polishing etc.) is no longer necessary.
NONSTOP
instead of
STOP & GO
NONSTOP
Allows a continuous, automated 100% inspection in real time of all cut profiles - instead of the so far practice of random sample testing.
CLEAR VISION
instead of
TUNNEL VISION
CLEAR VISION
Measures hidden values such as rates of recycled material, wall & coating thicknesses, etc. Is also the perfect solution for cut co-extruded hoses/tubes!
Your benefits at a glance
- Measurement of the complete inside geometry: thickness of walls and inside webs, contour, radii, clamping sections, coating thicknesses, rate of recycled material, etc.
- Full-coverage quality control instead of manual random sample testing
- NO MORE offline inspection using tabletop PROJECTORS!
- Direct integration into the inline process
- Possibility of direct control and adjustment
- Linking to ProfilControl 7 DualVision, DX or S inline systems possible as an option


